

Spring Boot simplifies Java development by automating configurations, embedding servers, and streamlining project setup. Here’s a quick overview of its top features every developer should know:
- Auto-Configuration: Automatically configures components based on dependencies.
- Spring Boot CLI: Quickly create and test prototypes with Groovy scripts.
- Spring Profiles: Manage environment-specific settings (e.g., dev, test, prod).
- Spring Initializr: Generate ready-to-use projects at start.spring.io.
- Embedded Servers: Run applications with built-in Tomcat, Jetty, or Undertow.
- Spring Boot Actuator: Monitor app health and performance with built-in endpoints.
- Externalized Settings: Simplify configuration management across environments.
- Standalone Applications: Package apps as executable JARs for easy deployment.
- Spring Data JPA: Simplify database access with repository interfaces.
- Spring Boot Security: Protect applications with authentication, role-based access, and CSRF protection.
These features save time, reduce complexity, and help you build scalable, secure applications. Let’s dive into each feature to see how they work.
The ULTIMATE Guide to Spring Boot: Spring Boot for Beginners

1. Auto-Configuration in Spring Boot
Auto-configuration in Spring Boot takes the hassle out of setting up components by automatically configuring them based on your project’s dependencies. This means developers can spend less time on setup and more time building features [4].
For instance, if Spring Boot detects certain JAR files in your classpath, it configures the related components automatically. A good example: when spring-mvc.jar is present, Spring Boot sets up the DispatcherServlet and other key web components [4].
Here’s how it works in a database setup scenario:
@SpringBootApplication
public class MyApplication {
    public static void main(String[] args) {
        SpringApplication.run(MyApplication.class, args);
    }
}
With just this annotation and the right dependencies, Spring Boot can:
- Configure an H2 database if the H2 library is included
- Set up JDBC templates when both JDBC and H2 libraries are present
- Handle database connection pools automatically [4] [2]
Want to see exactly what’s being configured? Turn on debug logging in your application.properties file:
debug=true
Need to customize? You can exclude specific auto-configuration classes like this:
@SpringBootApplication(exclude = DataSourceAutoConfiguration.class)
This feature is a game-changer for speeding up development. What used to take days can now be done in minutes, making it ideal for quick prototypes and proof-of-concept projects [4].
And if you want an even faster start, Spring Boot CLI can simplify project initialization even further.
2. Using the Spring Boot CLI
The Spring Boot CLI is a command-line tool that simplifies project initialization by combining Groovy scripting, automatic dependency management, and Spring Boot’s core features. It’s designed to make development faster and more efficient, especially for smaller projects or prototypes [3].
Here’s an example of a simple web application built with the Spring Boot CLI:
@RestController
class WebApp {
    @RequestMapping("/")
    String home() {
        "Hello, Spring Boot!"
    }
}
When you run this script, the CLI automatically configures everything needed based on the annotations and imports in your code. This includes setting up dependencies and components like databases or web frameworks, thanks to Spring Boot starters [3].
The CLI is especially useful for:
- Rapid prototyping of Spring applications
- Running and testing applications directly from the command line
- Building proof-of-concept projects
- Teaching and learning how Spring Boot works
Even though the CLI is ideal for quick development, it can also support scaling from basic scripts to more complex applications. As your project grows, you can shift to a traditional project structure while still benefiting from Spring Boot’s features [3].
Next, we’ll dive into how Spring Profiles can help manage different environments effectively.
3. Managing Environments with Spring Profiles
Spring Profiles make it easier to handle environment-specific configurations – such as development, testing, and production – within a single application. This keeps your codebase tidy and well-organized while allowing you to tailor settings for each environment.
Take this example of setting up database configurations with Spring Profiles:
@Configuration
@Profile("dev")
public class DevDatabaseConfig {
    @Bean
    public DataSource dataSource() {
        return DataSourceBuilder.create()
            .url("jdbc:h2:mem:testdb")
            .build();
    }
}

@Configuration
@Profile("prod")
public class ProdDatabaseConfig {
    @Bean
    public DataSource dataSource() {
        return DataSourceBuilder.create()
            .url("jdbc:postgresql://production-server:5432/myapp")
            .build();
    }
}
You can activate profiles in several ways, including:
- application properties:
spring.profiles.active=dev - command-line arguments:
--spring.profiles.active=prod - programmatically:
System.setProperty
Common scenarios for profiles include using in-memory databases during development (dev), mock services for testing (test), and performance-tuned settings for production (prod). They can also be used for environment-specific security settings, like enforcing HTTPS in production environments.
Best Practices for Spring Profiles
- Choose clear names: Use descriptive profile names like "dev-local" or "prod-cloud" to avoid confusion.
- Focus configurations: Limit each profile to managing only the settings specific to its environment.
- Set a default: Provide a fallback configuration for cases where no profile is explicitly set.
Spring Profiles streamline how you manage environment-specific settings, making your applications easier to maintain and configure. Next, we’ll look at how Spring Initializr simplifies project setup.
4. Starting Projects with Spring Initializr
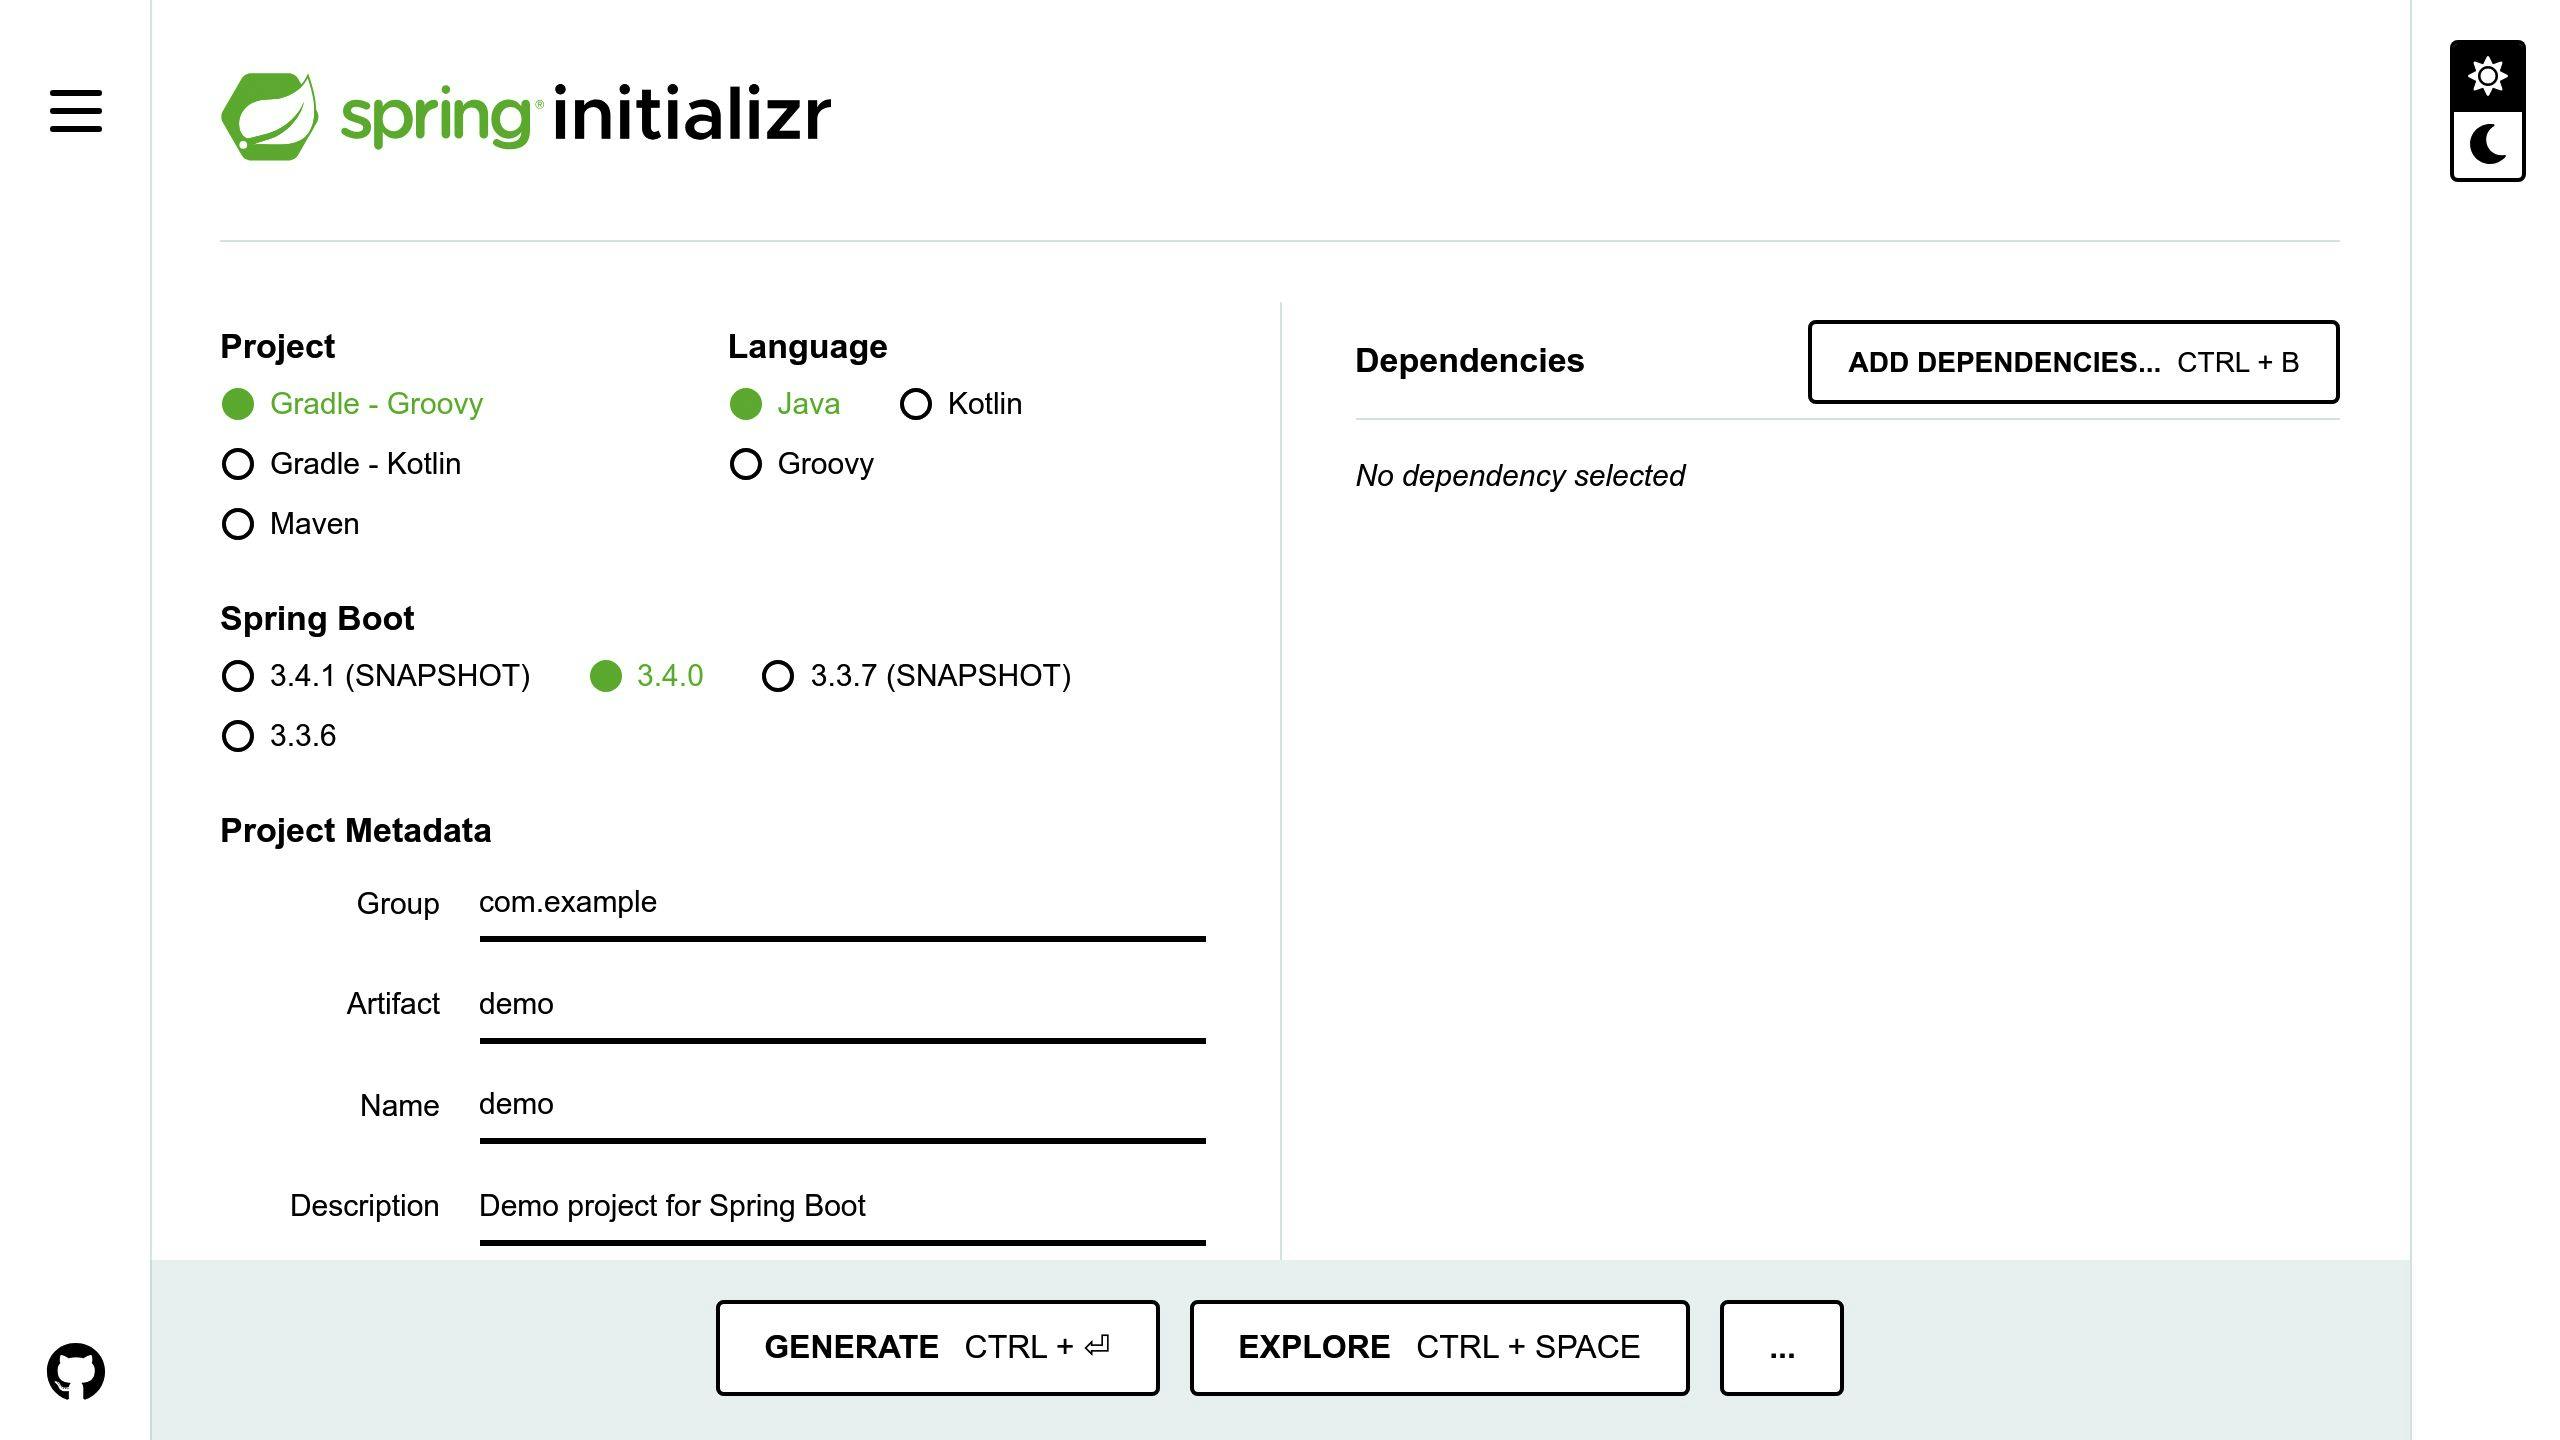
Spring Initializr simplifies the process of setting up Spring Boot projects, letting developers create ready-to-use applications in just a few minutes. It handles much of the setup and configuration, so you can jump straight into coding.
Using the Web Interface
The easiest way to use Spring Initializr is through its website at start.spring.io. You can quickly configure important settings like project type, programming language, and Java version. Once you’ve made your selections, it generates a fully structured project tailored to your needs.
Dependency Management and Handy Features
Spring Initializr takes care of dependencies for you. It ensures that all required components are added and that version compatibility is maintained. Some standout features include:
- Quick and easy dependency selection
- Automatic setup of project metadata
- Options to choose between Maven or Gradle
- Instant project creation, ready to run
IDE Integration for a Smoother Workflow
Popular IDEs like IntelliJ IDEA and Eclipse come with built-in support for Spring Initializr. This means you can create new projects directly within your development environment. To keep things organized, it’s a good idea to start with minimal dependencies, pick the latest stable release, and use clear group IDs.
5. Embedded Servers in Spring Boot
Spring Boot simplifies deployment by embedding the server directly within your application. This eliminates the need for separate server installations and configurations.
Embedded Server Options
Spring Boot supports three main embedded servlet containers, each suited for different needs:
| Server | Features | Best For |
|---|---|---|
| Tomcat | Default option, widely used, well-documented | General-purpose web apps, especially REST APIs |
| Jetty | Lightweight, scalable | High-concurrency apps, WebSocket-heavy systems |
| Undertow | High-performance, non-blocking | Apps needing fast, asynchronous processing |
Customizing Your Server
You can adjust the server’s settings, like port and context path, directly in the application.properties file. For example:
server.port=9090
server.servlet.context-path=/myapp
This makes it easy to adapt the server to your application’s requirements.
Performance and Resource Management
With embedded servers, each application is responsible for its own server resources. This setup works especially well in cloud environments and containerized systems, where scalability and resource control are critical.
Tips for Optimization
To get the most out of embedded servers:
- Select the right server: Match the server type to your application’s needs.
- Fine-tune settings: Adjust server configurations to fit your deployment environment.
- Optimize resources: Manage thread pools, connection timeouts, and memory effectively.
- Use load balancers: Improve scalability by integrating with load balancers.
- Enhance security: Configure security settings to protect your application.
Spring Boot’s embedded servers make deployment straightforward, and tools like Actuator provide robust monitoring and management for production environments.
sbb-itb-f454395
6. Monitoring Applications with Spring Boot Actuator
Spring Boot Actuator makes it easier to monitor and manage your applications by offering operational insights that help maintain reliability. With built-in endpoints, it provides access to critical information needed for effective application management.
Setting Up Actuator
To get started with Actuator, you need to add the dependency to your pom.xml file. This will enable its built-in monitoring and management endpoints:
<dependency>
    <groupId>org.springframework.boot</groupId>
    <artifactId>spring-boot-starter-actuator</artifactId>
</dependency>
Key Monitoring Endpoints
Actuator offers several endpoints that give you a clear view of your application’s health and performance:
| Endpoint | Purpose | Key Information Provided |
|---|---|---|
/actuator/health |
Check application health | Status of the app and its dependencies |
/actuator/metrics |
View performance metrics | Data like memory usage, request timing, and custom metrics |
/actuator/info |
Access app metadata | Version, environment details, and other metadata |
/actuator/env |
Inspect environment | Configuration properties and system variables |
Advanced Monitoring Features
Actuator works seamlessly with Micrometer, allowing you to gather detailed metrics with dimensions like time, tags, or categories. These metrics can be exported to tools such as Prometheus or Grafana, enabling real-time application monitoring.
Security and Auditing
Actuator integrates with Spring Security to track authentication events. This helps you monitor logins, failed attempts, and unauthorized access. Using the AuditEventRepository, you can analyze security events in detail.
Customization Options
You can adjust Actuator’s behavior using properties to configure which endpoints are exposed and how much detail is provided in health checks. This flexibility ensures it meets your application’s specific needs.
Production Monitoring Best Practices
- Secure sensitive endpoints: Restrict access to critical Actuator endpoints in production environments.
- Add custom health indicators: Define checks for essential business components to ensure their reliability.
- Prioritize key metrics: Focus on the most relevant metrics to avoid being overwhelmed by excessive data.
Actuator’s integration with other Spring Boot features, including embedded servers, creates a strong foundation for monitoring production applications. With these tools in place, managing your application’s performance becomes much more efficient. Next, we’ll look at how externalized settings can simplify configuration management in Spring Boot.
7. Simplifying Configuration with Externalized Settings
Spring Boot makes it easier to manage settings by separating them from the code. This approach simplifies updates and allows you to tweak configurations for specific environments.
Configuration Sources and Priority
Spring Boot organizes its configuration sources in a hierarchy, ensuring the right values are applied based on their priority:
| Priority | Configuration Source | Purpose |
|---|---|---|
| Highest | Command-line arguments | Ideal for testing and debugging |
| High | Environment variables | Perfect for production settings |
| Medium | Application properties files | Default app configurations |
| Low | Defaults | Backup values |
Using Properties Files
Properties files are the go-to method for externalizing configurations. Place an application.properties or application.yml file in the src/main/resources directory of your project. Here’s an example:
spring:
  datasource:
    url: jdbc:h2:mem:testdb
    username: sa
    password: ${DB_PASSWORD}
    driver-class-name: org.h2.Driver
  jpa:
    hibernate:
      ddl-auto: update
Environment-Specific Configurations
You can manage settings for different environments by using profile-specific files like application-dev.yml. This works seamlessly with Spring Profiles, allowing you to switch configurations based on the active profile.
Accessing Configuration Properties
Spring Boot provides two main ways to access properties:
@Value: For single properties.@ConfigurationProperties: For grouped properties.
Here’s how they look in practice:
@Value("${spring.datasource.url}")
private String databaseUrl;

@ConfigurationProperties(prefix = "mail")
public class MailSettings {
    private String host;
    private int port;
}
Handling Sensitive Information
For sensitive data like passwords, avoid hardcoding them in your files. Instead, use environment variables or secure storage solutions like Vault or AWS Secrets Manager.
Best Practices for Configuration
- Version-control your configuration files, but leave out sensitive data.
- Use clear and descriptive property names.
- Document the purpose of each property, especially if it impacts critical features.
- Validate required configuration values to prevent runtime issues.
- Leverage profiles to maintain separate configurations for different environments.
8. Building Standalone Applications
Spring Boot makes it easy to create standalone applications by bundling everything into a single executable JAR. This approach simplifies deployment since these applications come with embedded servers, removing the need for external server installations.
Building Executable JARs
To package your application as an executable JAR, include the Spring Boot Maven plugin in your pom.xml file:
<build>
    <plugins>
        <plugin>
            <groupId>org.springframework.boot</groupId>
            <artifactId>spring-boot-maven-plugin</artifactId>
            <version>3.2.0</version>
        </plugin>
    </plugins>
</build>
Server Configuration Options
You can customize server settings for your standalone application in the application.properties file. Here are a few key options:
| Configuration Property | Purpose | Example Value |
|---|---|---|
server.port |
Defines the server port | 8080 |
server.servlet.context-path |
Sets the application context path | /myapp |
Managing Resources
Ensure your application runs efficiently by adjusting resource settings during startup. For example:
java -Xmx512m -Xms256m -jar myapplication.jar
Deployment Tips
To ensure smooth deployment and operation, keep these tips in mind:
- Use separate configuration files for different environments.
- Set up a robust logging system.
- Adjust memory settings to match your application’s needs.
- Enable HTTPS for production environments.
- Add health check endpoints to monitor application status.
Container Integration
Spring Boot applications work well with containerization tools like Docker. Here’s an example of a simple Dockerfile:
FROM eclipse-temurin:17-jdk-alpine
COPY target/*.jar app.jar
ENTRYPOINT ["java","-jar","/app.jar"]
With standalone applications simplifying deployment, you can focus on efficient data access, which is where Spring Data JPA comes in.
9. Simplifying Data Access with Spring Data JPA
Spring Data JPA makes working with databases easier by cutting down on repetitive code. It removes much of the complexity, allowing developers to focus on building features that matter instead of dealing with tedious database operations.
Repository Interface and Query Generation
Spring Data JPA uses repository interfaces to simplify database interactions. These interfaces can generate SQL queries automatically based on method names, saving time and effort. Here’s an example:
@Repository
public interface UserRepository extends JpaRepository<User, Long> {
    List<User> findByEmailContaining(String email);
}
In this case, the method findByEmailContaining is translated into a query like SELECT * FROM entity WHERE email LIKE %?%. This makes creating queries straightforward. Some common patterns include:
findByEmailContaining(String email): For partial text searches.findByAgeBetween(int start, int end): For range-based queries.
Transaction Management
Handling transactions is made simple through annotations. For example:
@Service
@Transactional
public class UserService {
    private final UserRepository userRepository;

    public UserService(UserRepository userRepository) {
        this.userRepository = userRepository;
    }

    public User updateUser(Long id, UserProfile profile) {
        return userRepository.findById(id)
            .map(user -> {
                user.setProfile(profile);
                return userRepository.save(user);
            }).orElseThrow(() -> new EntityNotFoundException("User not found"));
    }
}
With the @Transactional annotation, transaction management is handled automatically, reducing the risk of errors.
Performance Optimization
Spring Data JPA includes tools to improve performance, such as:
- Pagination: Manage large datasets efficiently using
Pageable. - Query Caching: Store frequently accessed data in memory to reduce database calls. For example:
spring.jpa.properties.hibernate.cache.use_second_level_cache=true
spring.jpa.properties.hibernate.cache.region.factory_class=org.hibernate.cache.ehcache.EhCacheRegionFactory
Auditing Support
Keep track of changes to your entities with built-in auditing features:
@Entity
@EntityListeners(AuditingEntityListener.class)
public class User {
    @CreatedDate
    private LocalDateTime createdAt;

    @LastModifiedDate
    private LocalDateTime updatedAt;
}
This automatically captures when an entity was created or last updated, making it easier to monitor changes.
With these tools in place, you’re ready to move on to securing your application using Spring Boot Security.
10. Securing Applications with Spring Boot Security
Spring Boot Security simplifies the process of protecting applications with pre-set configurations and flexible options for customization. Safeguarding data is a key factor in maintaining application reliability.
Basic Security Configuration
With Spring Boot Security, you can easily set up security rules using WebSecurityConfigurerAdapter. Here’s a quick example:
@Configuration
@EnableWebSecurity
public class SecurityConfig extends WebSecurityConfigurerAdapter {
    @Override
    protected void configure(HttpSecurity http) throws Exception {
        http
            .authorizeRequests()
                .antMatchers("/public/**").permitAll()
                .anyRequest().authenticated()
            .and()
            .formLogin()
                .loginPage("/login")
                .permitAll();
    }
}
Authentication and Password Security
Spring Boot Security supports multiple authentication methods to fit different application needs:
| Authentication Type | Best For |
|---|---|
| Form-based | Traditional web applications with sessions |
| OAuth2 | Token-based authentication for modern APIs |
| JWT | Stateless authentication, ideal for scalable APIs |
| Basic Auth | Lightweight option, often used for testing |
For secure password storage, Spring Boot recommends using BCrypt:
@Bean
public PasswordEncoder passwordEncoder() {
    return new BCryptPasswordEncoder();
}
Protection Against Common Threats
Spring Boot Security includes built-in safeguards against common vulnerabilities like CSRF, XSS, and clickjacking. CSRF protection is enabled by default, helping defend your application from cross-site request forgery attacks.
Role-Based Access Control
You can manage access to sensitive operations with method-level annotations. For example:
@PreAuthorize("hasRole('ADMIN')")
public void manageUser(Long userId) {
    // Operations restricted to admins
}
Security Best Practices
According to the 2022 Verizon Data Breach Investigations Report, compromised credentials contribute to 80% of breaches [1]. Here’s how you can improve security:
- Enforce strong password policies
- Use secure session management techniques
- Regularly update security configurations and dependencies
"Security is not just about protecting against hackers; it’s about protecting your users’ data and maintaining their trust." – Rob Winch, Spring Security Lead, Pivotal Software [2]
Conclusion
Spring Boot simplifies Java development by offering features that boost productivity and ensure reliable applications. These ten features are essential for building scalable and secure Spring-based solutions.
Boosting Development Efficiency
With tools like auto-configuration, the CLI, and Initializr, Spring Boot makes project setup and prototyping a breeze. What used to take hours can now be done in minutes, completely changing how developers approach Java application development.
Monitoring Made Simple
Actuator’s built-in health checks and metrics provide valuable insights for keeping applications running smoothly in production. These tools support proactive monitoring, helping developers maintain reliability and stability.
Key Benefits for Developers and Businesses
Here’s a quick breakdown of how these features impact development and business goals:
| Feature Category | Key Advantages | Business Impact |
|---|---|---|
| Configuration | Simplifies setup and reduces errors | Faster time-to-market |
| Security | Guards against common vulnerabilities | Safer applications |
| Monitoring | Provides real-time data for quick fixes | Better system reliability |
| Development Tools | Speeds up coding and testing workflows | Higher developer productivity |
Building for the Future
Features like embedded servers, externalized configurations, and Spring Data JPA lay a strong foundation for creating modern microservices. Whether you’re working on a simple web app or a complex system, these tools provide the resources needed to succeed.
FAQs
What is Spring Boot auto-configuration with example?
Spring Boot sets up components for you based on the libraries in your project. For instance, if you add HSQLDB to your dependencies, it configures an in-memory database automatically, saving you from manual setup.
How does Spring Boot Actuator help with application monitoring?
Spring Boot Actuator offers endpoints to check your app’s health, performance, and settings. It works well with tools like Prometheus and Grafana, making it easier to monitor and maintain your system in real time.
What makes Spring Boot CLI useful for development?
The Spring Boot CLI lets you quickly create prototypes using Groovy scripts. It handles dependencies and configuration, making it perfect for testing ideas without much setup.
How does Spring Initializr simplify project setup?
Spring Initializr creates ready-to-use project templates, so you can skip the tedious setup process and dive straight into coding.
What are the main security features in Spring Boot?
Spring Boot Security includes features like built-in authentication, role-based access control, and defenses against threats like CSRF and XSS. It also allows customization to meet specific security needs.
These FAQs highlight some of Spring Boot’s core features, helping developers use them efficiently in their projects.